The Easy Way to "Meal Prep"
Do you hear the words “Meal Prep” and instantly cringe at the thought of all the time and effort that needs to be put into that task? Let’s be honest, those Instagram pictures of Tupperware perfectly lined up on the counter with every meal for the week specifically weighed out are beautiful, but a bit hard to execute without wasting a whole day! Well, I am here to offer some assistance and help you prep for the week ahead in a very efficient and realistic way.
Personally, I dislike the confines of a meal prep system where you put everything in specific containers for each meal and store them in your fridge. I don’t like being tied to a meal like that, and I love variety and flexibility. Also, I prepare food for both my husband (190-195# active male) as well as myself (145-150# active female), so our meals are very different in size and we enjoy different things on a daily basis.
I found a prep system that works for me, and I am excited to share it with you as I feel it is simpler, more efficient, and easier to execute on a consistent basis than the “make everything and split it into beautiful even portions and eat the same meal every day for a week” approach.
Here we go!
Setup for Success!
BASIC SHOPPING LIST –
– two different proteins (one lean like chicken/turkey/shrimp, one fattier like steak/pork/salmon)
– two veggie options (one green, one non-green/of color)
– two starch options (rice, potatoes, quinoa, etc)
– two fruit options
– avocado, nut butter, nuts/seeds
– olive or coconut oil
– “snacks”
HOW MUCH DO I NEED?! –
To decide how much of each item you would need, take the amount of protein you eat per meal and multiply it by 10 or 12 (2 meals per day for 5 or 6 days of the week). That is how much protein you would need to cook. If you are cooking for two people, you would obviously take that into account as well. For example, if you eat 4oz of protein at each meal, you would need a little over 2lbs (16oz) of protein – so about a pound of lean and a pound of fattier.
Vegetables are all dependent on how much you like to eat at each meal. The recommended serving size of vegetables is about 3oz (or 85g). So again, you would multiply that by 10-12 meals for the week. That would be about 30-36oz of vegetables between both your green and non-green options.
Starch is the option that would vary most, as this all depends on your daily carbohydrate intake. In my house, we go through a ridiculous number of carbohydrates. I eat around 250g per day while my husband eats about 300g per day, so carbs are plentiful around here! I prefer potatoes as my lunch/dinner carb source while he could eat white rice until it is coming out of his ears. So, I find it easiest to buy the biggest box of Instant White Rice and a sack of sweet potatoes. Sometimes we don’t get through all of this in a week, but starches store very well and last longer than the above items.
My rule of thumb for fruit is one piece of fruit per day per person. If you are worried about your fruit going bad, choose options that would last well throughout the week like bananas, oranges, and apples.
PREPARATION –
My secret weapon of meal prep is 1) a good knife, 2) two cookie sheets, 3) aluminum foil. Get all of your groceries out, roll your sleeves up, and get ready to attack – this is going to be fast! Preheat the oven to 400 degrees.
Now Let’s Cook!
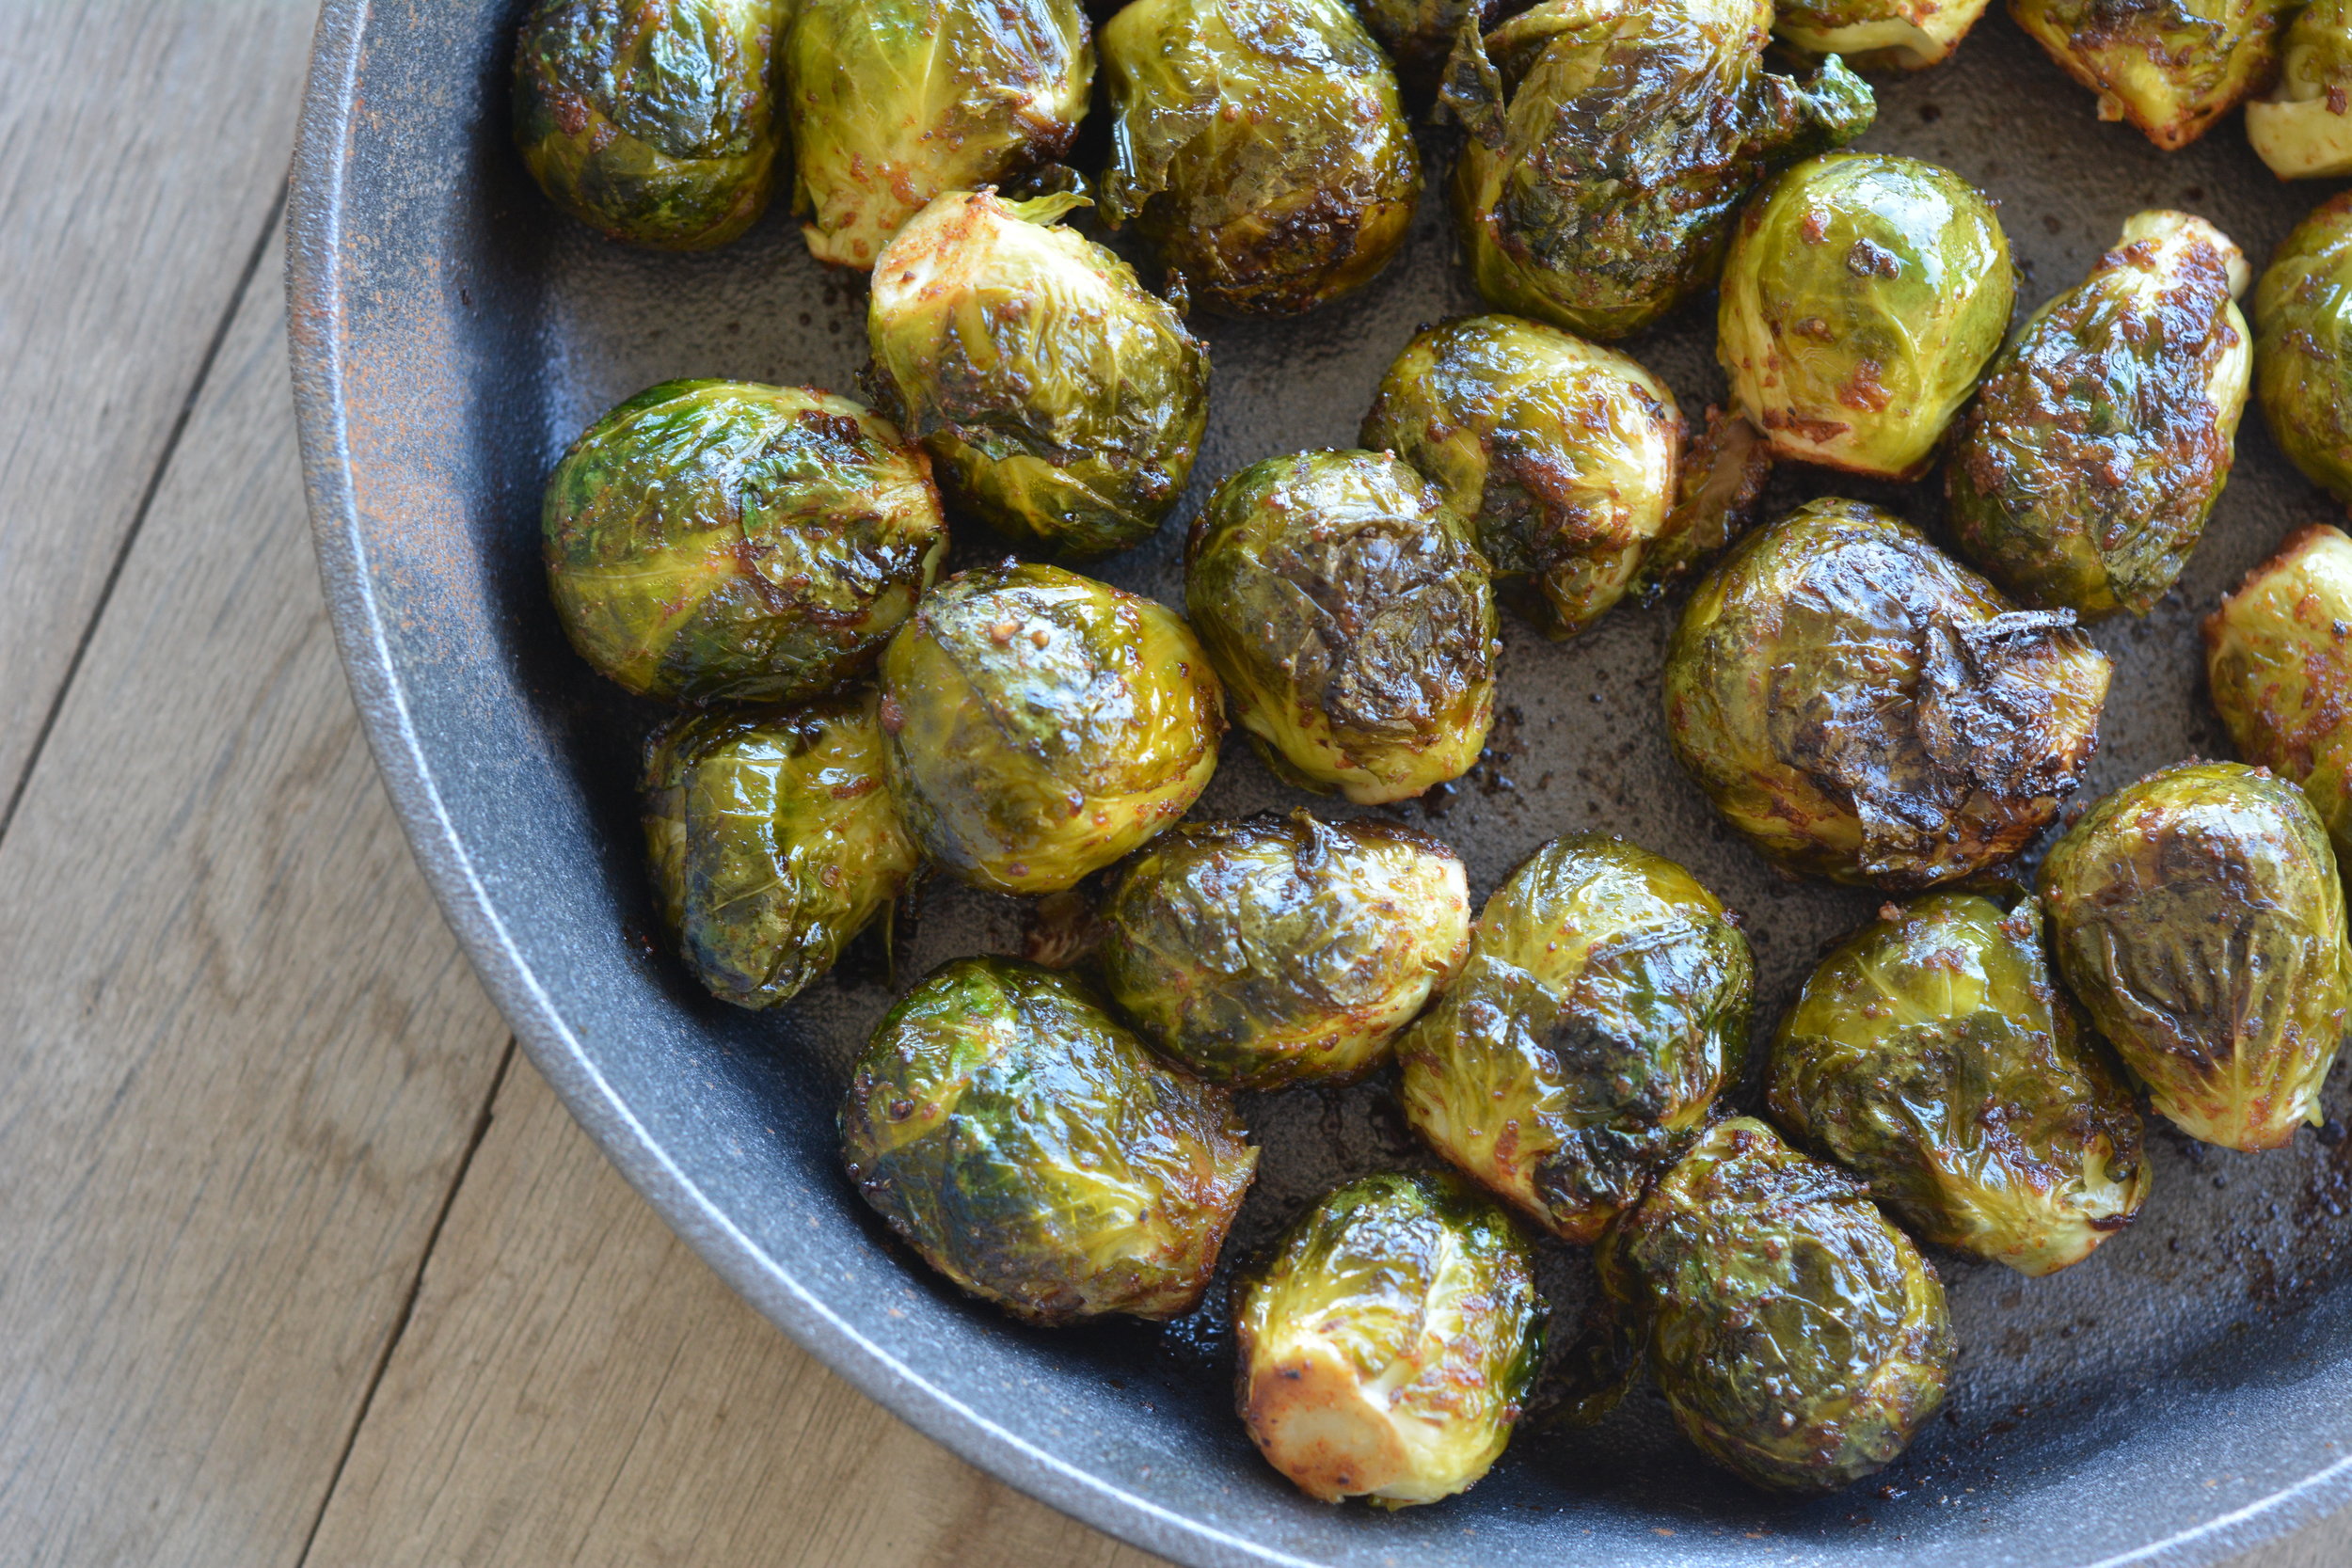
VEGGIES –
My “go-to’s” are usually Brussels sprouts and bell peppers so I will refer to those two. But remember, you can use whatever is your favorite! I encourage you to rotate your veggies weekly and try new ones whenever possible. Let’s begin by cleaning and cutting your veggies how you would like them. I like to half my Brussels sprouts and cut my peppers into strips. Once this is done, I cover the cookie sheet with foil (you’ll thank me later for this one), spray it with olive oil, and sprawl the veggies out there. I then spray the veggies with the olive oil and season them with salt, pepper, and a garlic/onion powder blend (you can season however you would like!). Set these cookie sheets aside until your oven is at 450. Once it is, cook your veggies for 20 minutes, and then turn the oven to broil for the last 5 minutes to brown them just a bit!
**If you get frozen veggies (just make sure there is no other ingredient added to them), this same method of cooking will also work, just add 10 minutes to cooking time**
STARCH –
Cooking rice and potatoes is very different, yet both very simple. Let’s start with the rice. While your veggies are cooking, prepare the water. Once boiled, pour in the rice and let sit until soft.
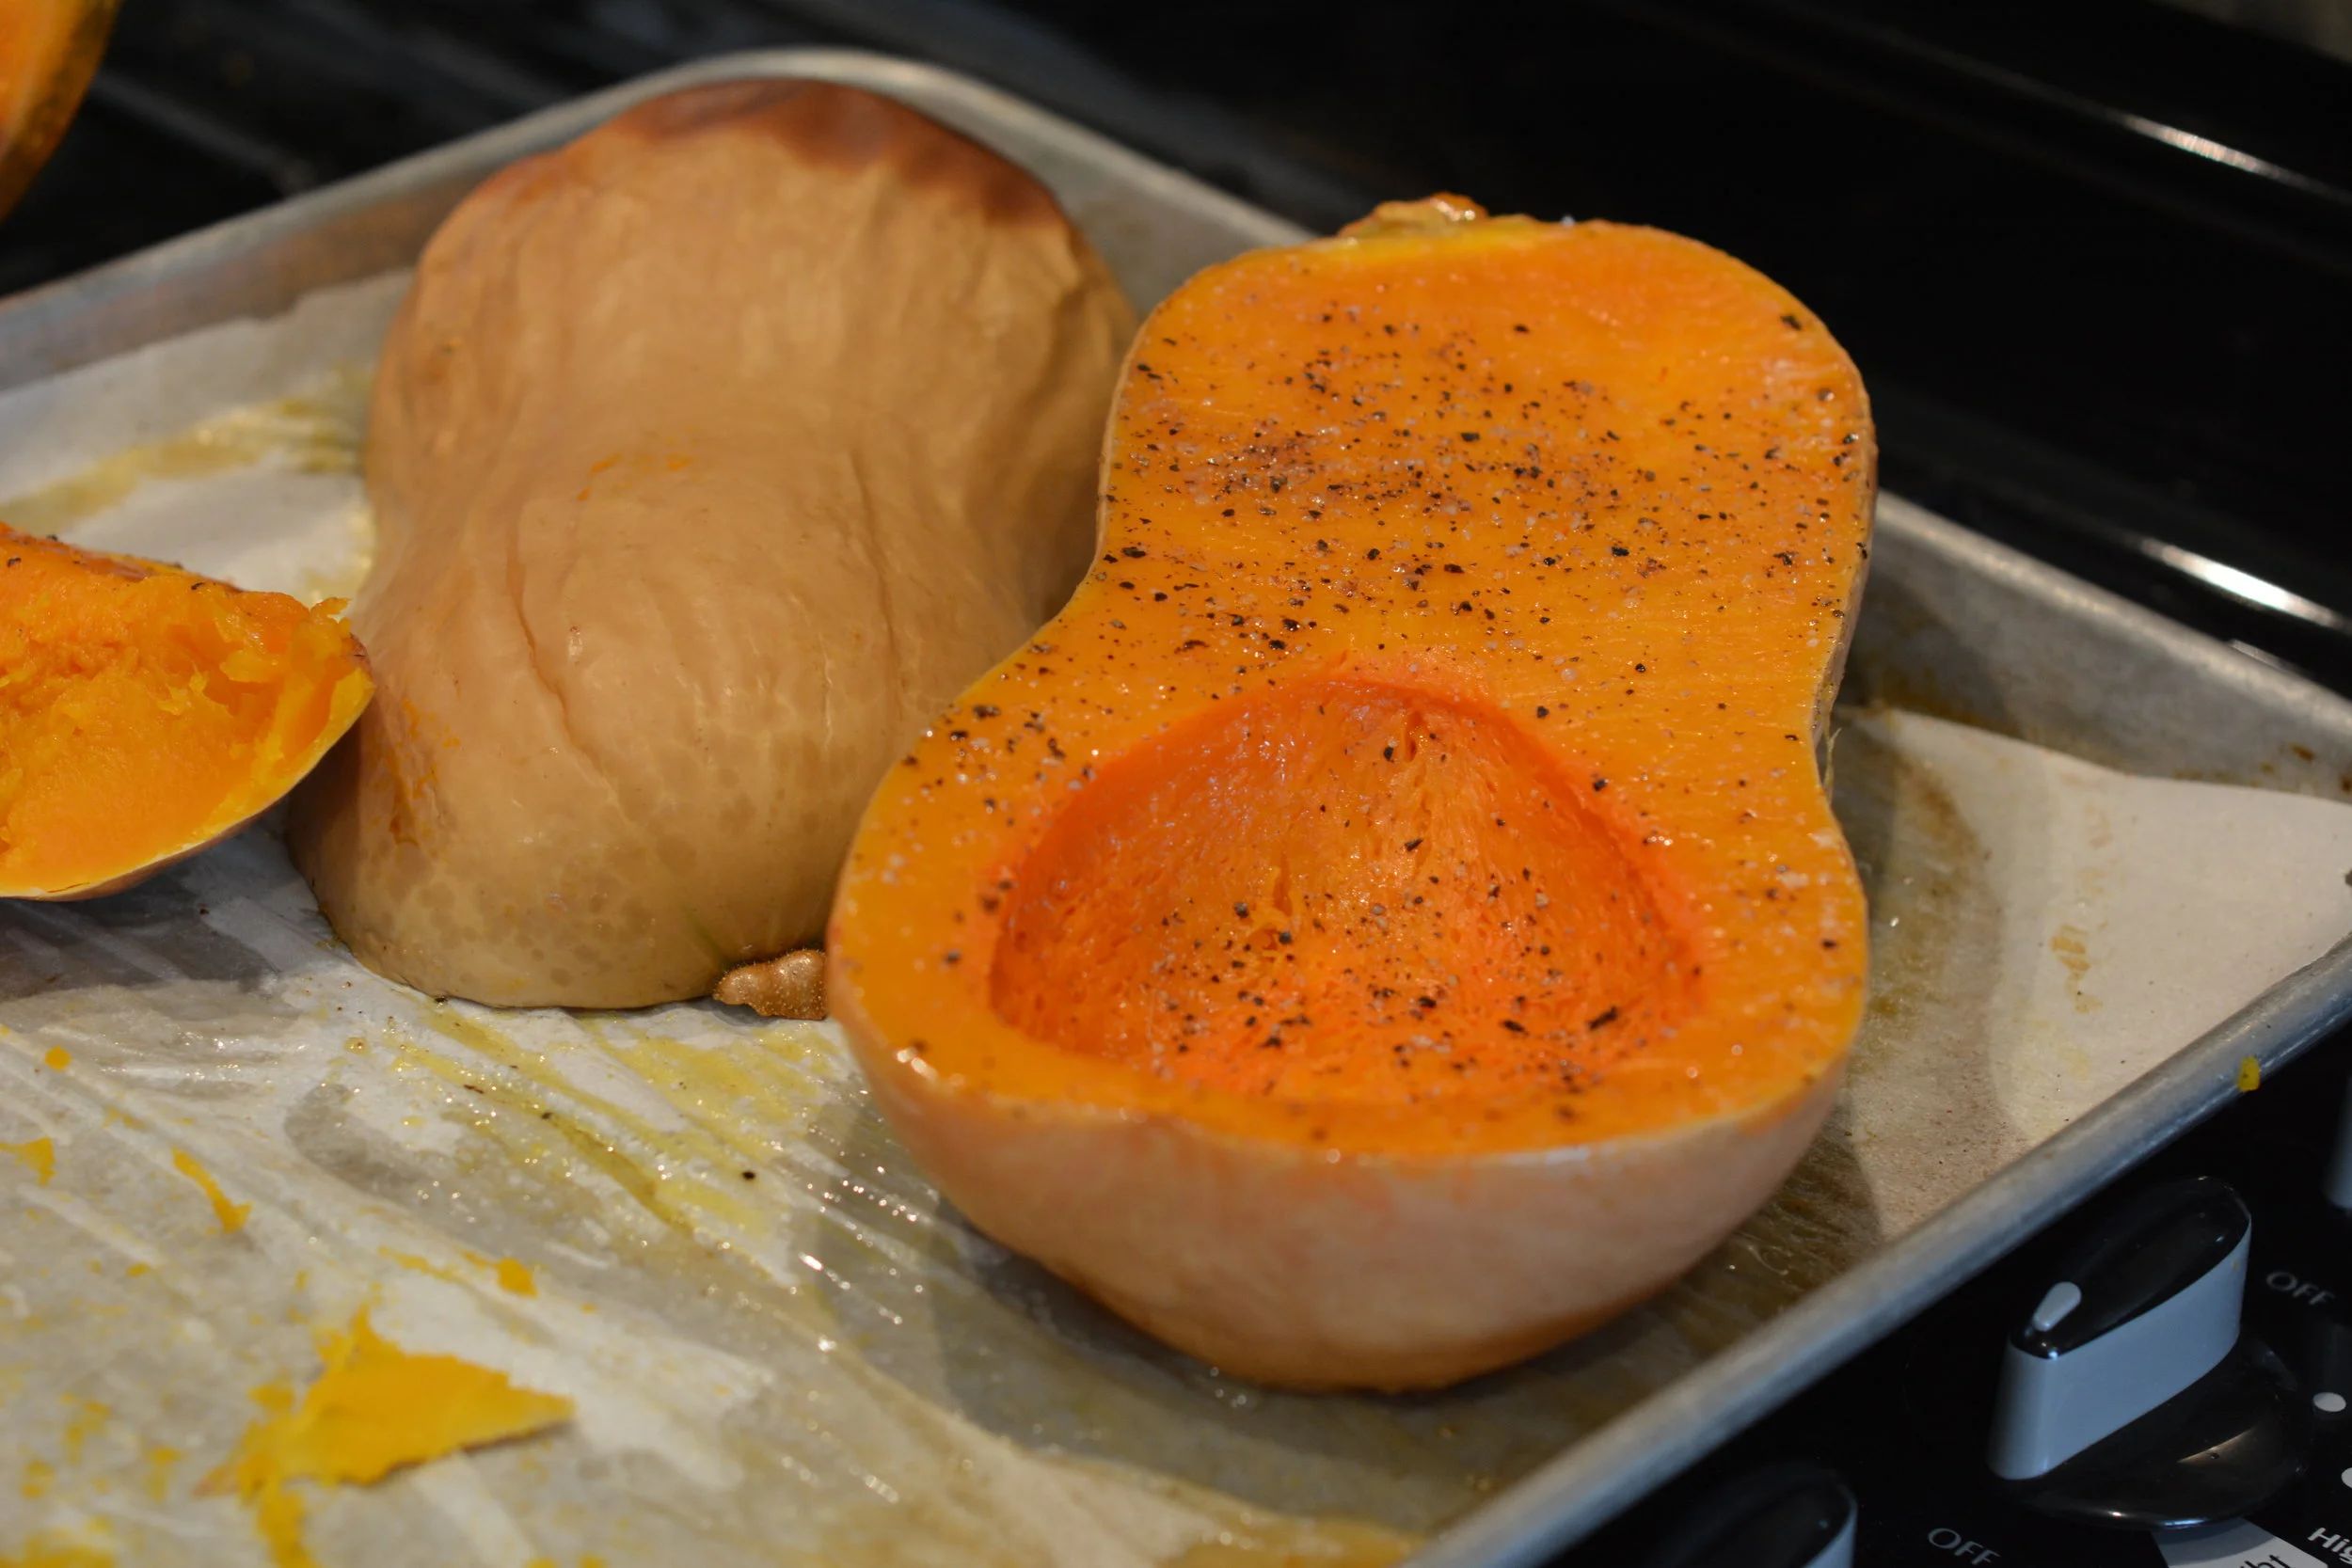
When cooking potatoes, you have options. My favorite method is cubing sweet potatoes, spraying them with olive oil and throwing them in my Air Fryer for about 15 minutes! If you do not own one of those (get one!) you can easily throw them on another cookie sheet and stick that in the oven as well – they will cook for 20-25 minutes in the oven with the last 5 minutes on broil.
**PRO TIP: season sweet potatoes with paprika AND cinnamon for the most amazing flavor**
PROTEIN –
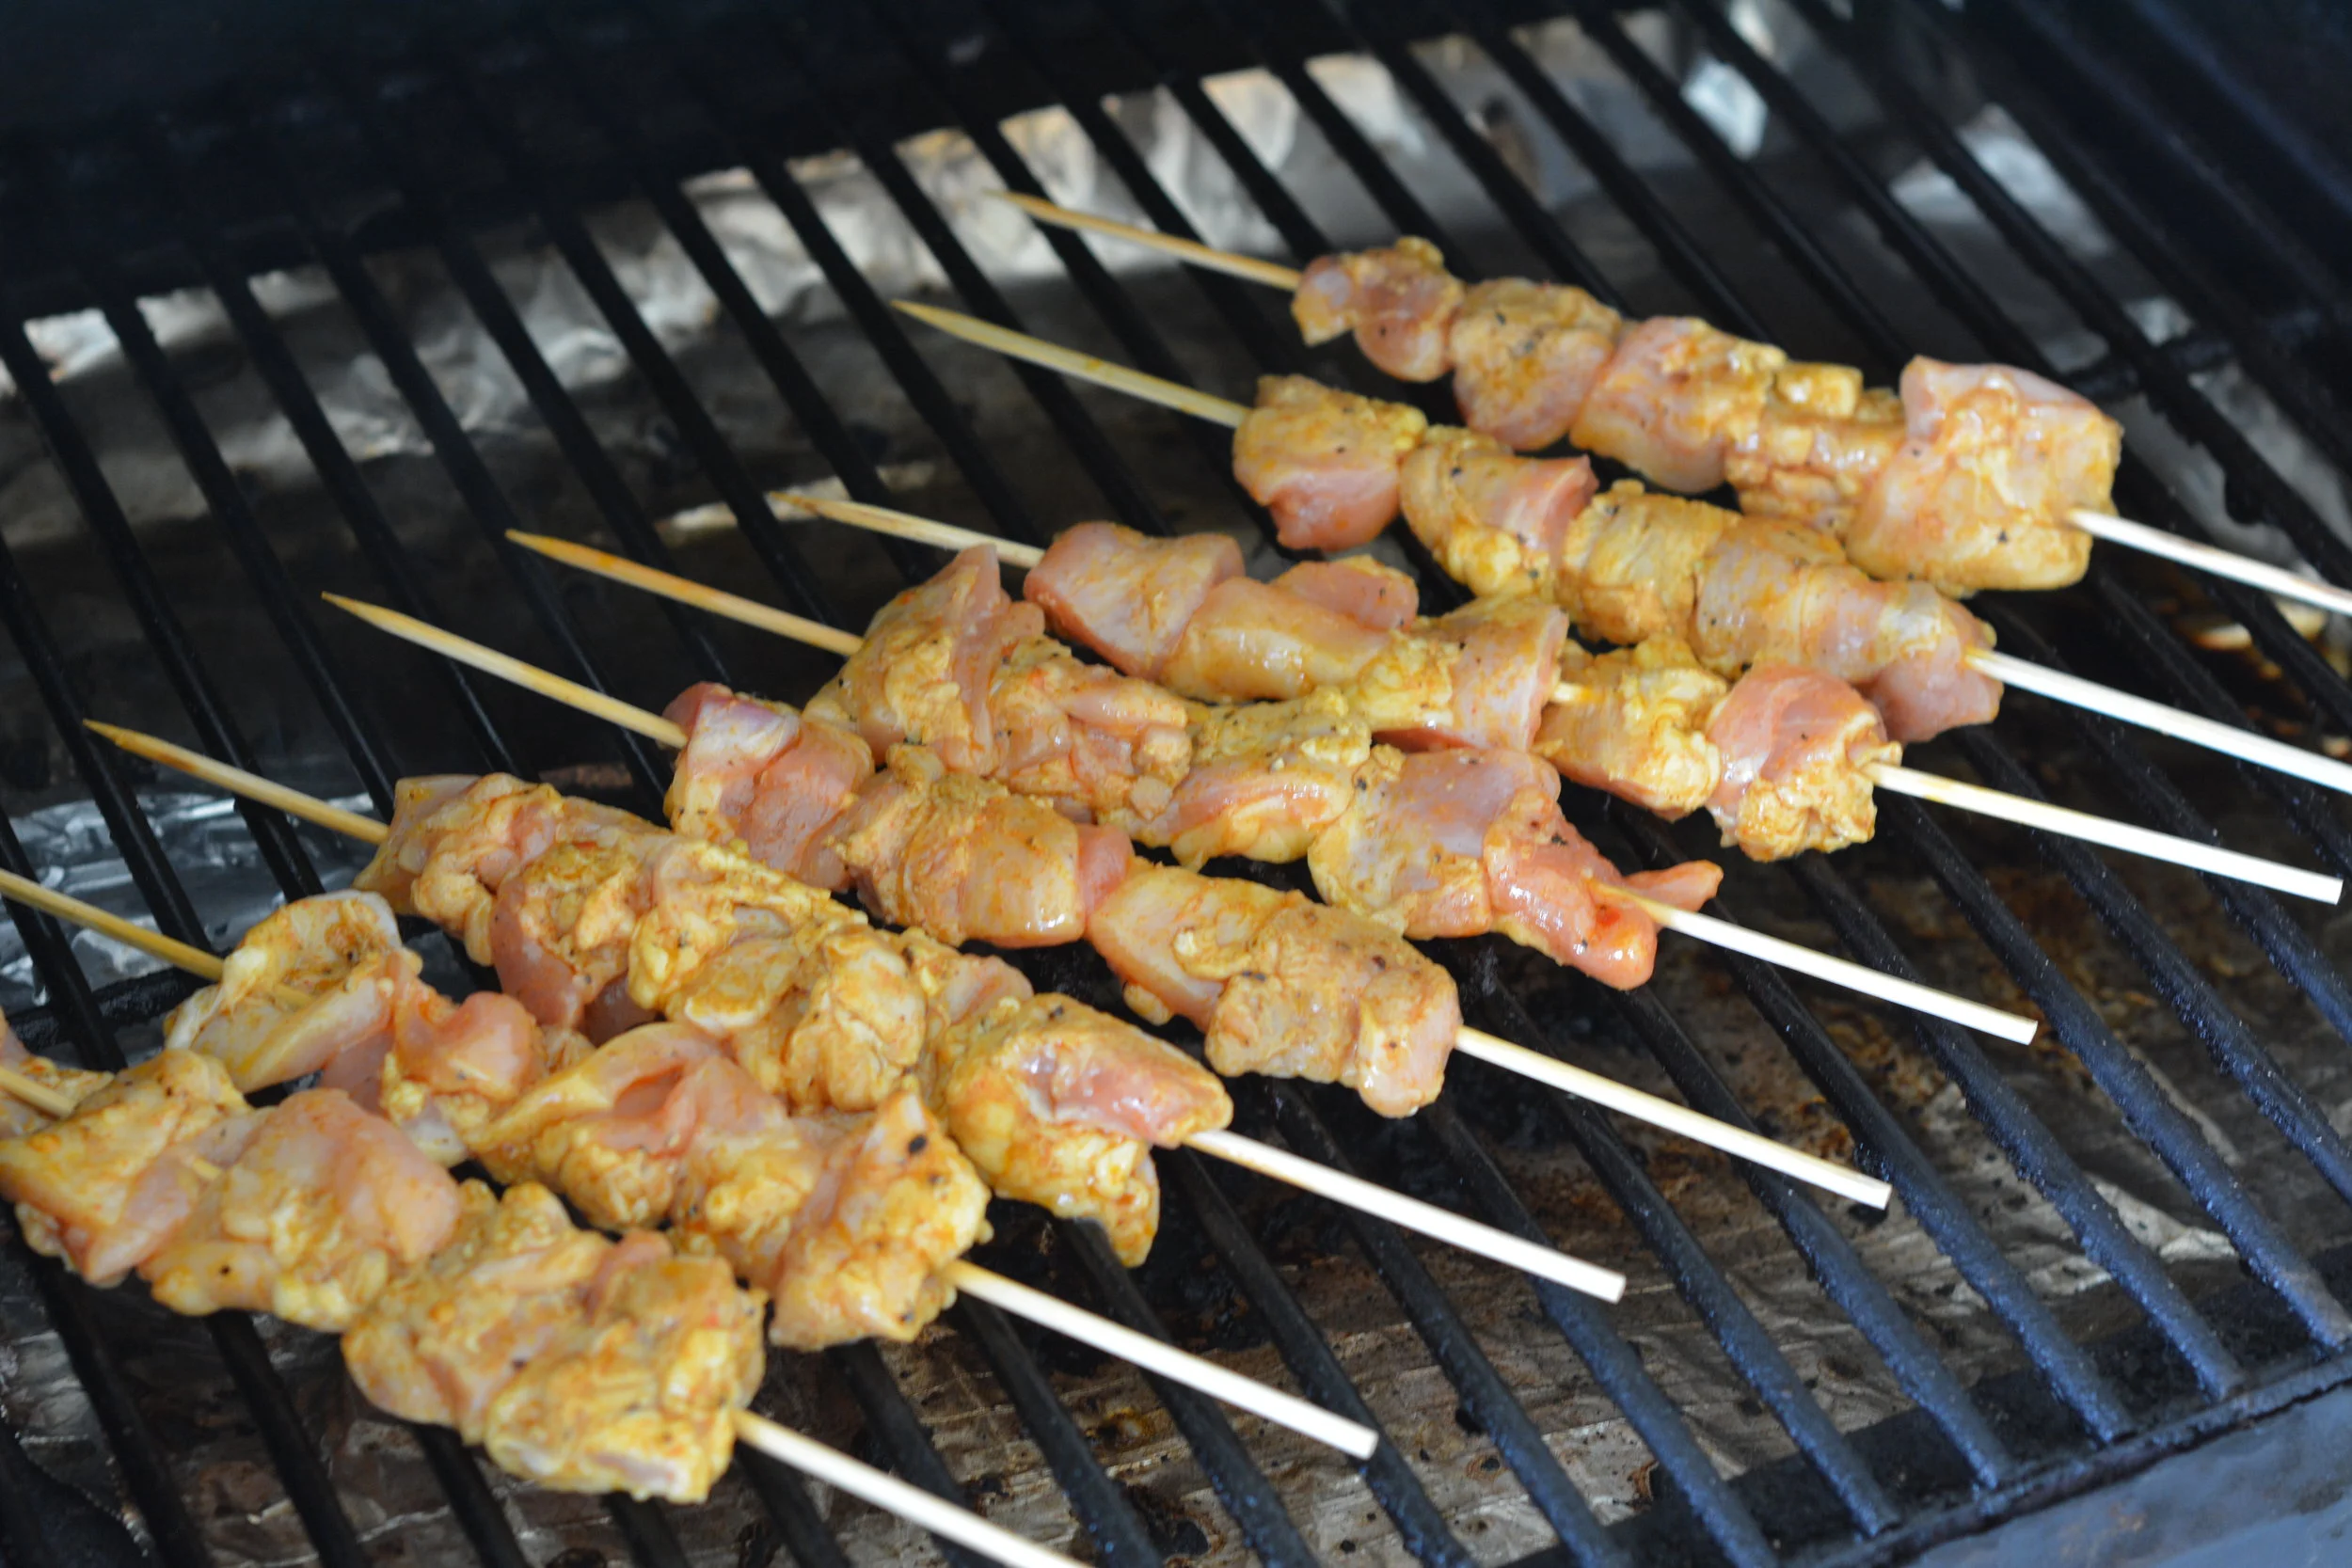
While your veggies are in the oven and your starch is in the works, get to your protein! Decide which method you want to use. My favorite method is an outdoor grill or a grill pan on the stove top. I don’t love protein oven baked, however, some people do. That is always an option as well. I would rather use my oven space for roasting vegetables and potatoes!
I recommend cutting protein up into cubes or strips. I like to do this for two reasons, 1) it makes cooking a lot quicker as smaller pieces of meat and fish will cook through faster, and 2) it gives you more options and variety when building meals later on! Once cut, you can season them however you would like and then they are ready for cooking. This is the piece of meal prep that will take the most attention, so be sure everything else is in the works and under control before you start cooking your protein.
**PRO TIP: The crock-pot is also a great way to cook protein if you are able to start it ahead of time. You can put raw protein in the crock-pot with some great spices and leave it for a few hours. When you come back you will have a large amount of juicy, seasoned protein ready to eat!**
As you can tell, your entire meal prep time should take less than an hour if done right! Get as many things cooking and working at once and it will be quick and painless. This meal prep method usually takes me one hour from grocery bag to store in the fridge and I love it!
Now What?!

STORAGE –
Invest in Tupperware that is big enough to store your prepped food in bulk. Six large containers are ideal (two for protein, two for veg, two for starch). This will keep things neat in your fridge and will allow building a meal to be really simple! I prefer this method over breaking up the food into specific meals as it allows for more variety in meals throughout the week and prevents you from becoming bored!
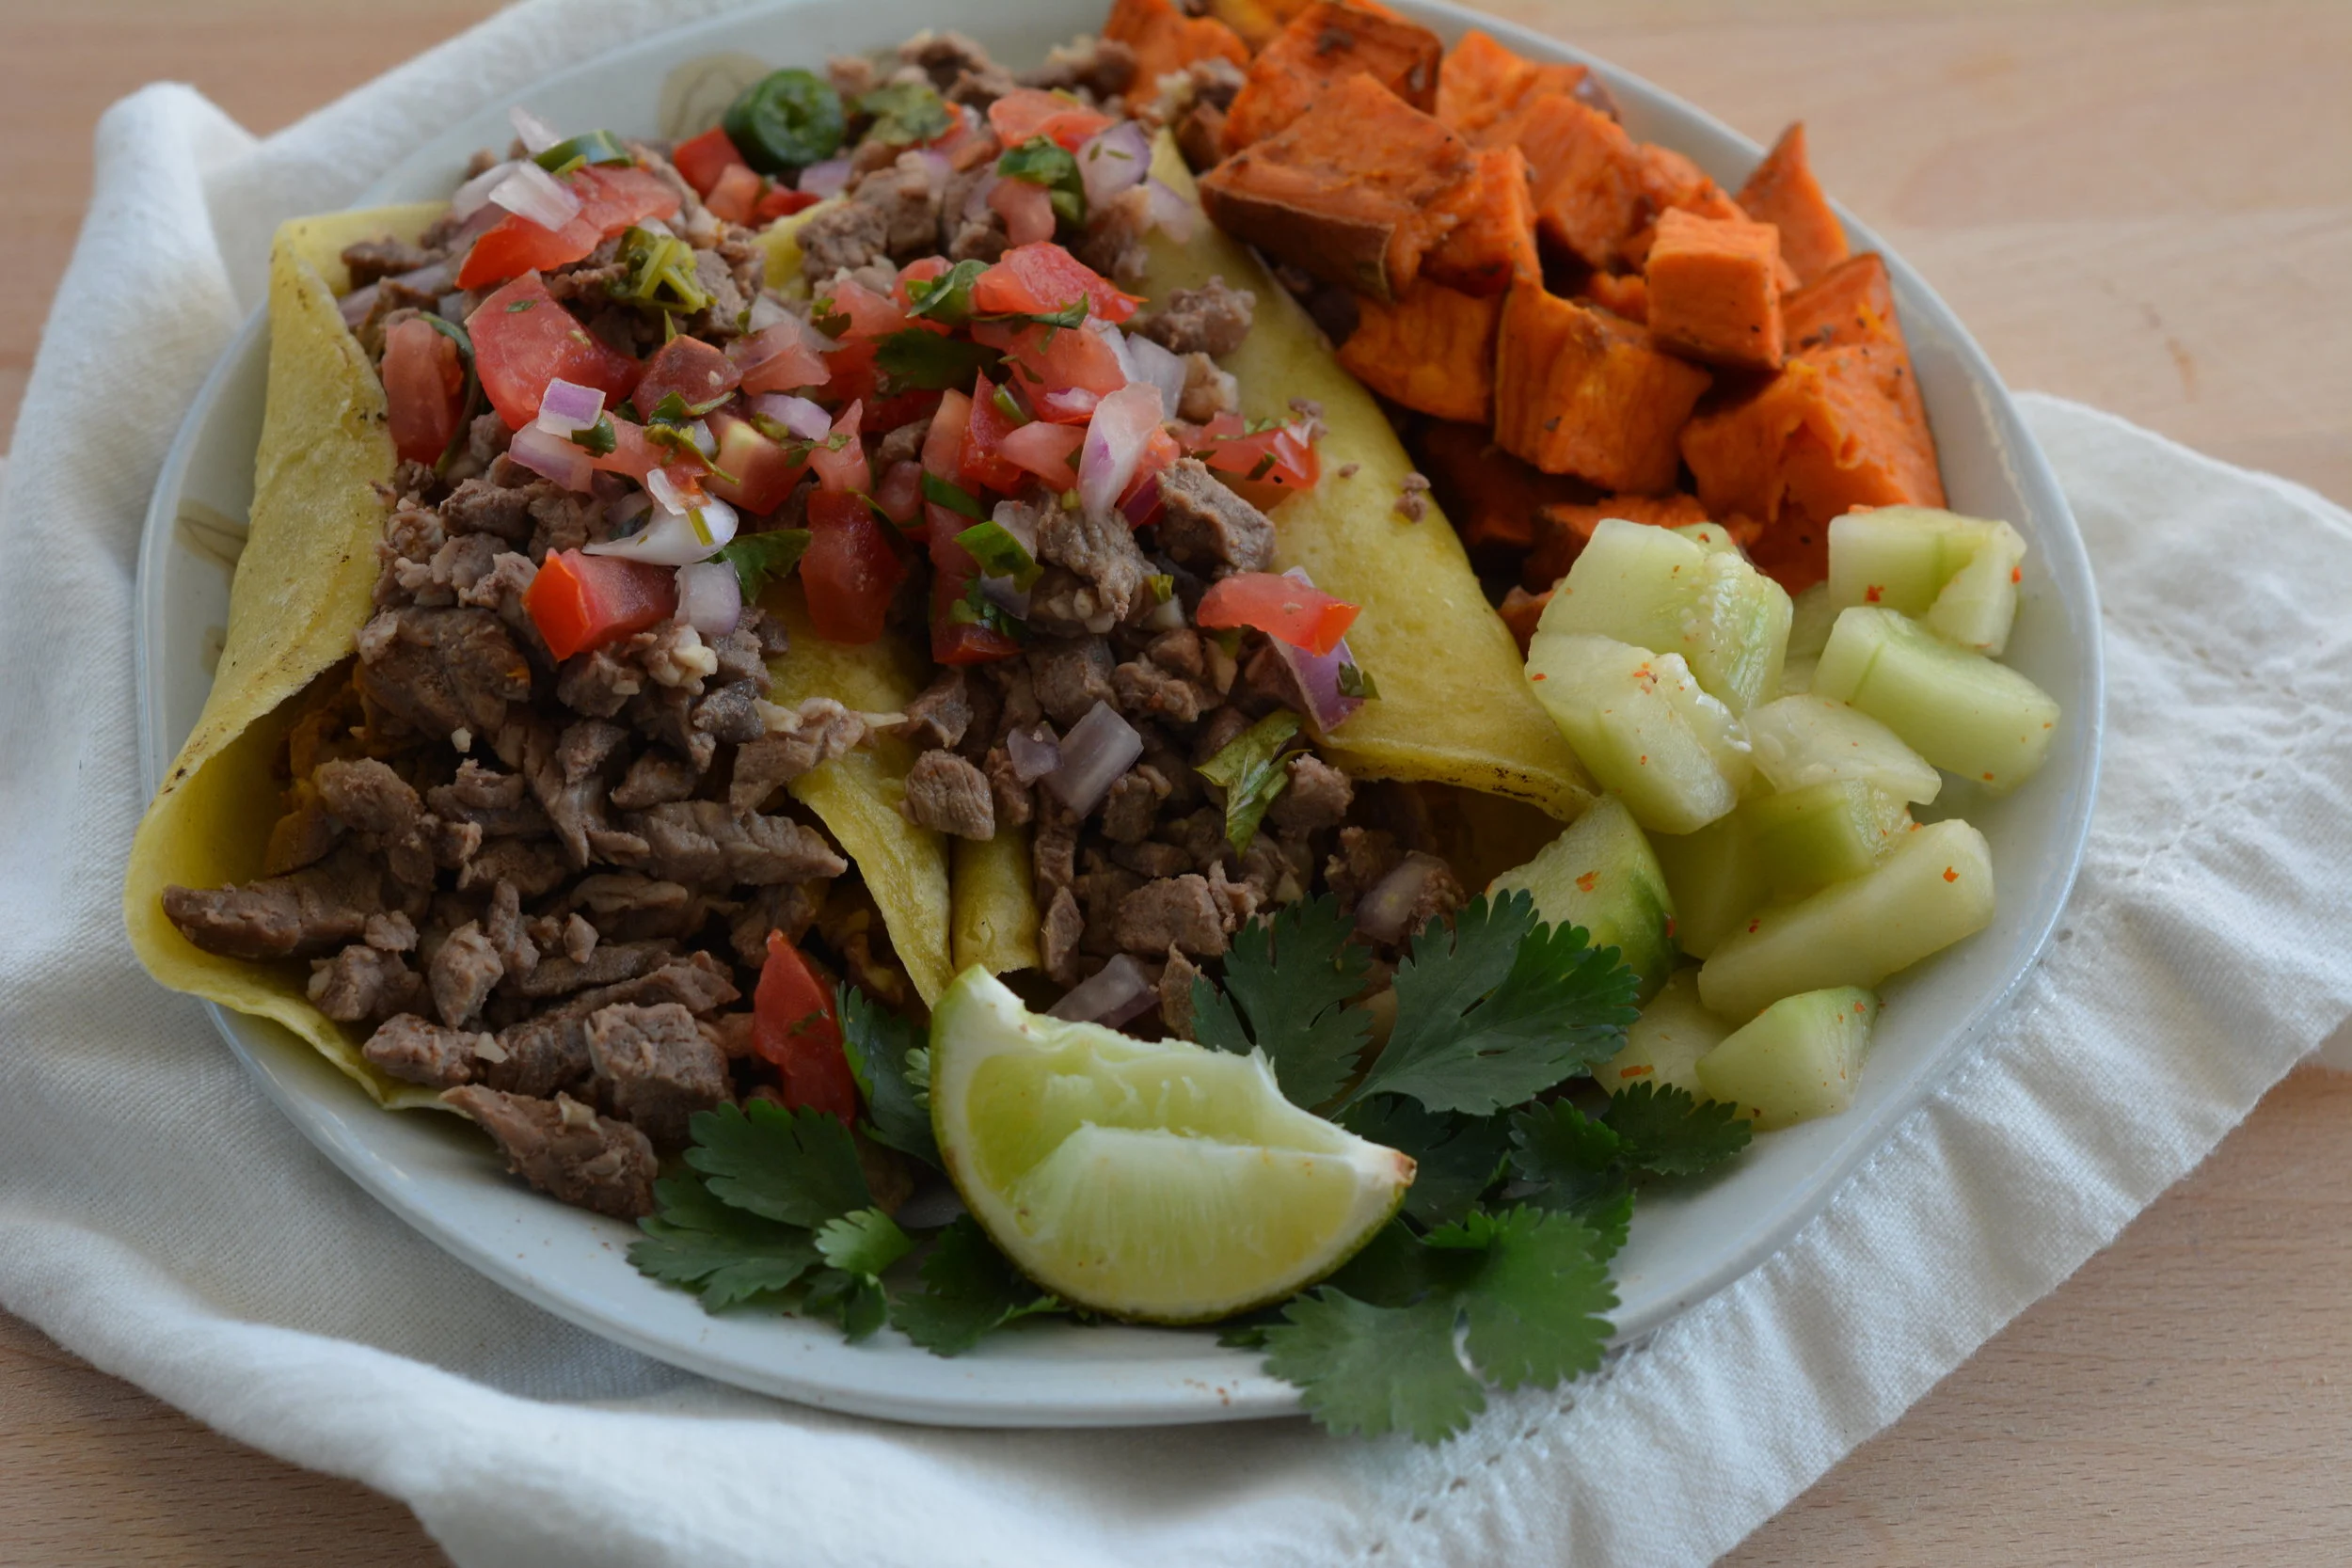
BUILDING MEALS –
Because all the hard work has been done already, you now have the building blocks to meals all ready to go in your fridge. Whether you need to pack a lunch for work, or are just coming home from a long day and don’t want to spend time cooking – you are ready! Simply take out your scale, pull out the components you want to use for your meal, and measure out your portion appropriately! I love this kind of meal prep because although the components may be the same, I can create different dishes very quickly. Grab some tortillas and make tacos. Put your meat and veggies over potatoes and make poutine. You could even load some of the components upon a flatbread and make a quick pizza!
WHERE IS THE FAT? –
So far, we have covered protein and carbohydrates, but have not spoken much about fat. The good news is fat is not something that we really need to “prep”. Fat is the tag-along macro that is found as add on’s and toppings. Obviously, there will be some fat found in the protein source you choose. Avocados and nut butter are a great enhancement to any meal. Cheese or ranch dressing are some other fatty add on’s that can make any basic meal delicious, as well as oils and dressings which can also help you achieve some added fat in your meal.
**PRO TIP: I LOVE to put some nut butter on my sweet potatoes, I surely recommend giving that a try. **
SNACKS –
The above prep covers your “main meals”. But, it is a good idea to think ahead about snacks so that you are set with some great grab and go options. I like to keep fruit, RX Bars, Think Jerky, 100 Calorie Popcorn bags, Yasso Frozen Yogurt Bars, and Oh Yeah One protein bars stocked in my house. If I have some extra time after my meal prep, I also like to measure out raisins and fruit into little baggies. Another great snack I have found is really easy to build ahead of time is cottage cheese with some strawberry or peach jam (I use the smallest size Tupperware for this and will make 3-4 at a time.
There are so many ways to meal prep. The key is to find the most successful one. REMEMBER, the most successful one will be the method in which you can find time to execute on a consistent basis. I have spent some time sharing with you the most successful method of meal prep for me, I hope it will work for you as well!
Written By: Nicole, Nutrition Coach